Coffee Roasting Machine User Guide: Safe Operation and Maintenance
Getting Started with Your Coffee Roaster
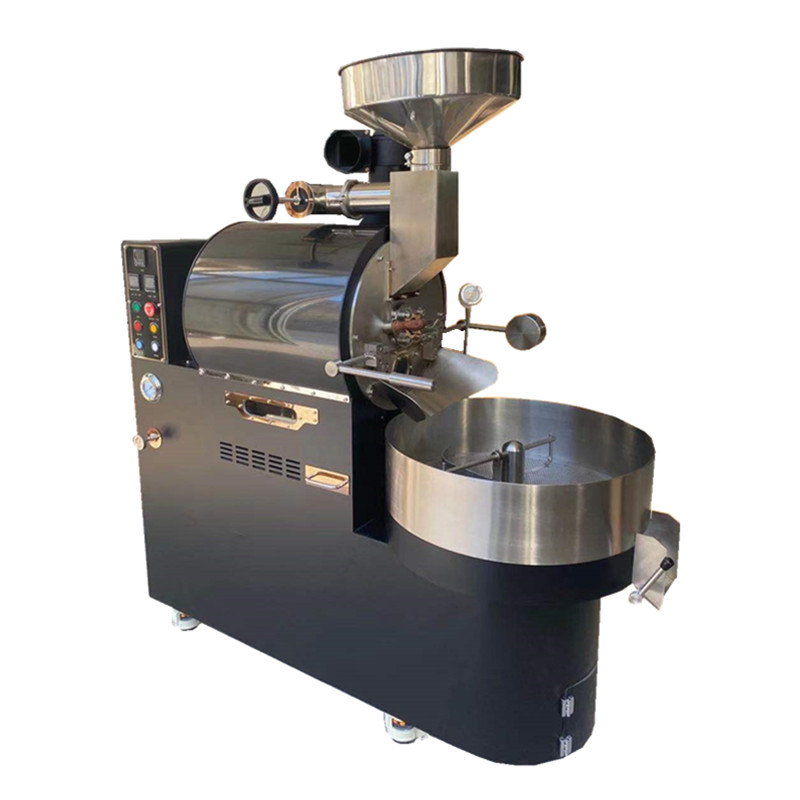
Initial Setup and Inspection
Before first use, unpack all components and verify all parts are present. Check for visible damage to the roasting drum, heating elements, and control panel. Ensure the ventilation system is clear of obstructions and that the chaff collector is properly attached. Place the machine on a stable, heat-resistant surface away from flammable materials.
Power and Connection Requirements
For electric models, use a dedicated 15-amp circuit to prevent overloading. Gas-powered units require proper ventilation and adherence to local fire codes. Connect the power cord or gas hose securely, avoiding kinks or sharp bends. Test the emergency shutoff switch by pressing it—the machine should power down immediately.
Pre-Roasting Calibration
Run a dry cycle (without beans) at 200°C for 10 minutes to burn off manufacturing residues. This process, called “seasoning,” improves thermal consistency and reduces off-flavors in initial batches. Monitor the temperature display for accuracy, adjusting calibration settings if the reading differs by more than ±5°C from an external thermometer.
Operating the Roasting Machine
Loading Coffee Beans
Measure beans using a digital scale for consistency. For a standard 500g batch, fill the drum to 70% capacity to allow proper agitation. Close the loading door securely, ensuring the latch clicks into place. Overfilling restricts airflow, leading to uneven roasting and potential chaff buildup.
Temperature and Time Settings
Start with a preheat temperature of 180°C for light roasts or 210°C for darker profiles. Use the control panel to set the roast duration, typically 10–15 minutes for medium roasts. Adjust fan speed to 50–70% for optimal airflow; higher speeds cool beans faster but may reduce development time.
Monitoring the Roast Process
Observe bean color changes through the viewing window, noting first crack (around 195°C) and second crack (225°C) for developmental cues. Listen for audible cracking sounds—first crack indicates caramelization, while second crack signals oils migrating to the surface. Use the sample spout to check beans manually every 2–3 minutes.
Post-Roasting Procedures
Cooling and Chaff Removal
Activate the cooling cycle immediately after roasting to halt development. Open the chaff collector and gently tap it to dislodge trapped particles. Wear a dust mask during cleaning to avoid inhaling fine chaff. For stubborn residue, use a soft-bristle brush to sweep the drum interior without scratching surfaces.
Storing Roasted Beans
Transfer beans to an airtight container only after they’ve cooled to room temperature (20–25°C). Avoid sealing warm beans, as trapped moisture accelerates staling. Store containers in a cool, dark place, consuming beans within 2–4 weeks for optimal freshness. Label batches with roast dates and profiles for reference.
Cleaning the Roasting Drum
After every 5–10 roasts, deep-clean the drum by running a damp cloth through the interior. For gas models, check burner ports for blockages using a needle or compressed air. Wipe down the exterior with a mild detergent, avoiding abrasive sponges that could damage control panel finishes. Never submerge electrical components in water.
Maintenance and Troubleshooting
Weekly Maintenance Tasks
Inspect the power cord or gas hose for fraying or cracks, replacing damaged parts immediately. Lubricate moving parts like drum bearings with food-grade silicone spray to reduce friction. Empty the drip tray and chaff collector after each use to prevent overflow during subsequent roasts.
Common Issues and Solutions
If beans roast unevenly, check for obstructed airflow vents or a misaligned drum. For temperature fluctuations, recalibrate the thermostat using the manufacturer’s guidelines. Gas models failing to ignite may have clogged orifices—clean them with a wire brush and verify gas pressure settings.
Long-Term Storage Guidelines
If not using the machine for extended periods, unplug it and cover it with a breathable cloth to prevent dust accumulation. Store in a dry environment to avoid rust on metal components. Before restarting, run a dry cycle to evaporate any condensation inside the drum.
Safety Precautions
Protective Equipment
Always wear heat-resistant gloves when handling hot components like the drum or bean chute. Use safety goggles to shield eyes from flying chaff during cleaning. Keep long hair tied back and avoid loose clothing near moving parts.
Fire Prevention Measures
Never leave the machine unattended during operation. Keep a fire extinguisher rated for grease fires within 3 meters of the roaster. Install smoke detectors in the roasting area and avoid roasting near open flames or heat sources.
Child and Pet Safety
Restrict access to the roasting area during operation. The exterior surfaces reach temperatures exceeding 100°C, posing burn risks. Store beans and cleaning supplies in locked cabinets to prevent accidental ingestion by children or pets.
By following these guidelines, users can achieve consistent, high-quality roasts while extending the lifespan of their equipment. Regular maintenance and adherence to safety protocols ensure optimal performance and minimize operational risks.