Troubleshooting Sudden Noise Increases in Coffee Grinders During Use
A coffee grinder that suddenly becomes louder during operation can indicate underlying mechanical or maintenance issues. While some noise is normal, abrupt changes often signal problems like loose parts, worn components, or foreign objects interfering with the grinding mechanism. Below are systematic steps to diagnose and resolve the issue.
Identifying Common Causes of Sudden Noise
Understanding the root causes helps prioritize troubleshooting efforts. Start by observing the grinder’s behavior during use.
Foreign Objects Lodged in the Grinding Chamber
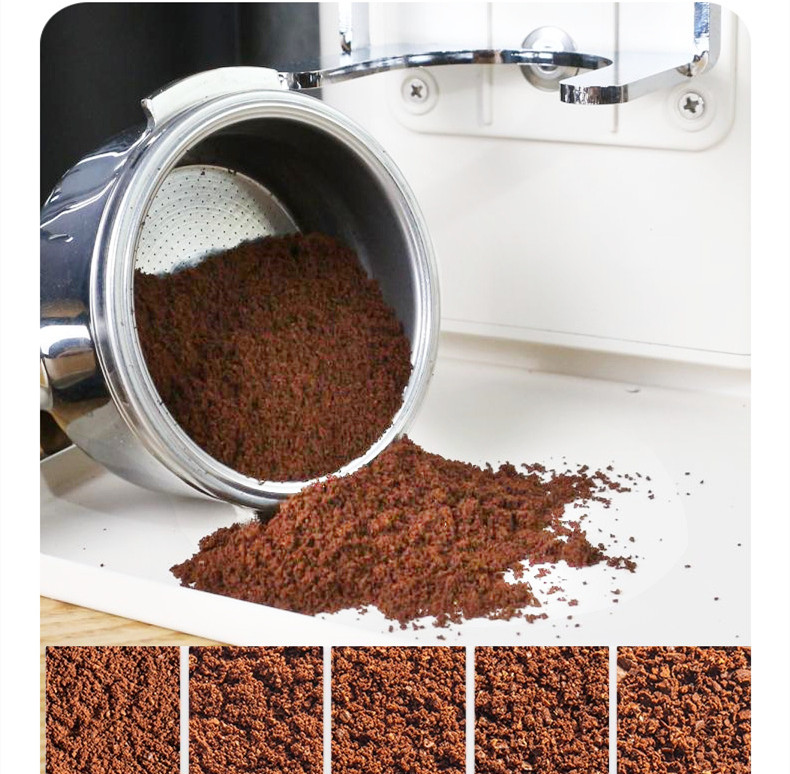
- Why It Happens: Small debris, such as coffee bean fragments, packaging materials, or even insects, can slip into the grinder’s hopper or burr chamber. These objects create friction or block the grinding path, causing unusual sounds.
- Signs to Watch For: Rattling noises, grinding that stops intermittently, or a metallic scraping sound. The grinder may also vibrate excessively.
- Quick Check: Power off the grinder, unplug it, and inspect the hopper and burr area for visible obstructions. Use a flashlight to examine hard-to-reach spots.
Worn or Misaligned Burrs
- Why It Happens: Burrs (the toothed discs that crush coffee beans) wear down over time, especially with frequent use of oily or hard beans. Misalignment can occur if the grinder is dropped or assembled incorrectly after cleaning.
- Signs to Watch For: A high-pitched whirring, grinding that feels uneven, or coffee grounds appearing larger or inconsistent in size.
- Quick Check: Remove the upper burr (if detachable) and inspect for chips, dull edges, or uneven wear. Check alignment by rotating the burrs manually—they should move smoothly without wobbling.
Loose Internal Components or Motor Mounts
- Why It Happens: Vibrations from regular use can loosen screws, bolts, or motor mounts over time. This allows parts to rattle or shift during operation, amplifying noise.
- Signs to Watch For: A clunking sound, vibrations transferring to the countertop, or the grinder “walking” across surfaces during use.
- Quick Check: Tighten any visible screws on the grinder’s exterior, especially near the motor housing or base. Avoid over-tightening, as this can strip threads.
Step-by-Step Troubleshooting Process
Follow these steps to isolate and fix the issue systematically.
Power Down and Unplug the Grinder
- Safety First: Always disconnect the grinder from power before inspecting internal components. This prevents accidental activation or electrical shocks.
- Wait Time: Let the grinder cool for 5–10 minutes if it was in use, as hot surfaces can cause burns.
- Access Points: Refer to the manual for disassembly instructions. Some grinders require removing screws or clips to access the burr chamber or motor area.
Inspect and Clean the Grinding Chamber
- Remove Burrs: Carefully detach the upper burr (if possible) and set it aside. Use a soft-bristled brush to sweep out coffee grounds, debris, or foreign objects.
- Check for Damage: Examine the burrs for cracks, chips, or excessive wear. Replace them if they appear damaged, as worn burrs cannot grind effectively and will continue to cause noise.
- Clean Thoroughly: Use compressed air to blow out dust from crevices, or wipe surfaces with a dry microfiber cloth. Avoid water, as moisture can damage electrical parts.
Test the Motor and Mounting
- Manual Rotation: With the burrs removed, gently spin the motor shaft (if accessible) by hand. It should rotate smoothly without resistance or grinding noises.
- Check Mounts: Inspect the motor housing for loose screws or brackets. Tighten any that appear wobbly, but do not force them.
- Listen for Abnormalities: Plug in the grinder (without burrs installed) and turn it on briefly. A healthy motor should emit a steady hum. If it squeals or knocks, the motor may need professional servicing.
Advanced Checks for Persistent Noise Issues
If basic troubleshooting doesn’t resolve the problem, deeper mechanical or electrical faults may be at play.
Examine the Gear System (If Applicable)
- Why It Matters: Some grinders use gears to adjust grind settings or drive the burrs. Worn or broken gears create grinding or clicking noises.
- Signs of Failure: The grinder struggles to adjust settings, or the burrs don’t rotate when powered on.
- Inspection: Remove the gear cover (if possible) and check for cracked teeth, missing pieces, or debris stuck in the gears. Clean and lubricate with food-safe grease if needed.
Verify Electrical Connections and Wiring
- Why It Matters: Loose or frayed wires inside the grinder can cause arcing or intermittent power delivery, leading to erratic motor behavior and noise.
- Signs of Fault: The grinder cuts out during use, emits a burning smell, or produces sparks.
- Safety Note: Do not attempt electrical repairs unless you’re trained. Instead, contact a professional technician to inspect the wiring harness and connections.
Assess for Overheating and Thermal Stress
- Why It Matters: Prolonged use without breaks can cause the motor to overheat, leading to expansion of metal parts and increased friction. This often results in loud whirring or buzzing noises.
- Signs of Overheating: The grinder feels hot to the touch, or the motor slows down before stopping abruptly.
- Solution: Limit grinding sessions to 5–10 minutes at a time, allowing the motor to cool for 10–15 minutes between uses. Ensure the grinder is in a well-ventilated area.
By methodically checking for foreign objects, worn burrs, loose components, and electrical issues, you can pinpoint the cause of sudden noise increases in your coffee grinder. Prioritize safety during disassembly, and consult a professional if the problem involves complex mechanical or electrical systems. Regular maintenance, such as cleaning and burr replacement, can prevent many noise-related issues from recurring.