Manual coffee roasters give roasters more autonomy and control, allowing them to create unique flavors based on personal preferences and the characteristics of coffee beans. The following are some key tips for using a manual coffee roaster:
Preparations before baking
Understand the characteristics of coffee beans: Coffee beans from different origins and varieties have different characteristics. For example, coffee beans from Ethiopia are usually highly acidic and have a rich floral and fruity aroma. The coffee beans from Brazil, on the other hand, have a rich and mellow taste, with a stronger flavor of nuts and chocolate. Understanding these characteristics helps determine the appropriate degree and style of baking.
Preheat the roaster: Before putting in the coffee beans, preheat the roaster to an appropriate initial temperature first. Preheating can ensure that coffee beans are heated up quickly after entering the roaster, avoiding prolonged roasting time due to excessively low temperatures and affecting the flavor of the coffee. Generally speaking, the initial temperature can be adjusted according to the characteristics of the coffee beans and the roasting target, usually between 150 and 200 degrees Celsius.
Prepare weighing tools: Accurately weigh the coffee beans to ensure that the amount of coffee beans roasted each time is consistent, so as to guarantee the stability of the roasting effect. Generally speaking, it is appropriate for a small manual roaster to roast coffee beans of 100 to 300 grams each time.
Baking process control
Control the heat intensity: Manual coffee roasters usually require manual adjustment of the heat intensity. In the early stage of roasting, a higher heat can be used to quickly heat up the coffee beans and promote the evaporation of moisture. As the roasting progresses, gradually reduce the heat to prevent the surface of the coffee beans from burning. For example, in the first few minutes of roasting, you can turn the heat to the maximum. Once the color of the coffee beans starts to change, you can appropriately reduce the heat.
Even stirring: During the roasting process, coffee beans should be constantly stirred to ensure even heating. The frequency of stirring can be adjusted according to the type of roaster and the amount of coffee beans. Generally speaking, it is more appropriate to stir once every 30 seconds to 1 minute. When stirring, be sure to apply moderate force to avoid damaging the coffee beans.
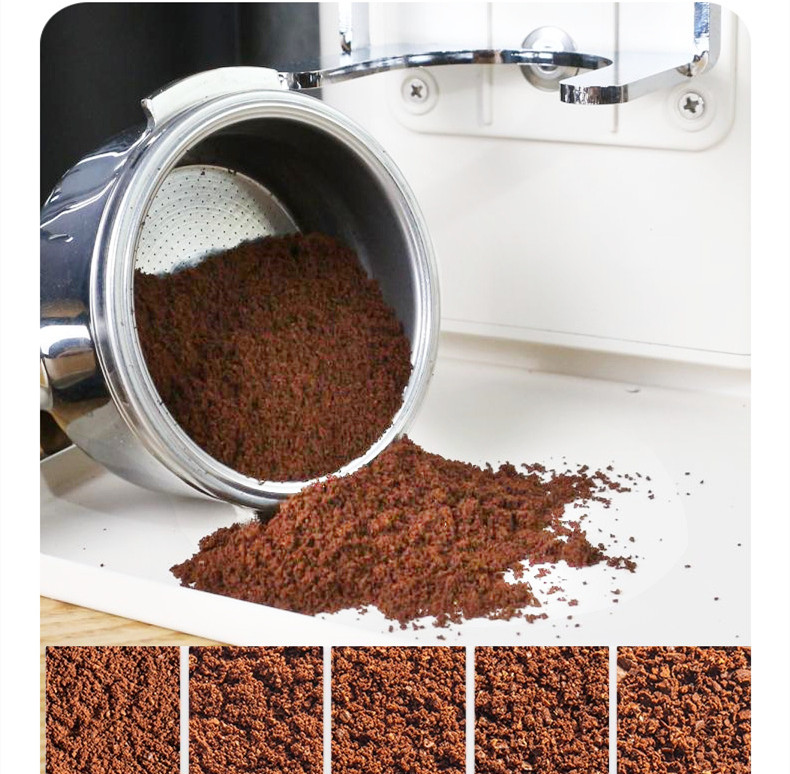
Observe the color change of coffee beans: Color is an important indicator for judging the degree of roasting of coffee beans. As roasting progresses, the color of coffee beans gradually changes from green to yellow, light brown, dark brown, and eventually black. Different degrees of roasting correspond to different flavor characteristics. Lightly roasted coffee has a higher acidity and a fresh aroma. Medium-roasted coffee has a balanced taste with moderate acidity and bitterness. Dark-roasted coffee has a stronger bitter taste and a rich aroma. During the roasting process, it is necessary to closely observe the color changes of the coffee beans and determine the appropriate roasting degree based on personal preference and the characteristics of the coffee beans.
Listen to the cracking sound: Coffee beans make cracking sounds during the roasting process, which is caused by the evaporation of moisture and the expansion of gas inside the beans. The first cracking sound usually occurs 5 to 8 minutes after the start of roasting. At this time, the color of the coffee beans will turn light brown, and the roasting degree is light to medium. The second cracking sound usually occurs 1 to 2 minutes after the first cracking sound. At this time, the color of the coffee beans will turn dark brown, and the degree of roasting is deep. Listening to the cracking sound can help determine the degree of roasting of coffee beans.
Post-baking treatment
Rapid cooling: Once the coffee beans reach the desired roasting degree, they should be immediately removed from the roaster and cooled rapidly. Rapid cooling can halt the roasting process of coffee beans and prevent overroasting. Coffee beans can be cooled with a fan or a cold air gun. You can also pour the coffee beans into a metal container and gently shake it to accelerate heat dissipation.
Resting coffee beans: After roasting, coffee beans need to be left to stand for a period of time to allow the gases inside to be fully released, making the flavor more stable. Generally speaking, light-roasted coffee beans need to be left to stand for 2 to 3 days, medium-roasted coffee beans for 3 to 5 days, and dark-roasted coffee beans for 5 to 7 days.
Storing coffee beans: After growing the coffee beans, store them in a sealed, light-proof and dry container to prevent them from getting damp, oxidizing and losing their flavor. You can choose to use a coffee bean can with a one-way exhaust valve so that the gas inside the coffee beans can be discharged while preventing outside air from entering.
Recording and Adjustment
Record roasting parameters: After each roasting, record the roasting time, temperature, heat intensity, weight and variety of coffee beans, etc. These records can help you summarize experiences and constantly improve baking techniques.
Adjust based on feedback: When tasting roasted coffee, pay attention to recording the flavor characteristics of the coffee, such as acidity, bitterness, sweetness, aroma, etc. Based on the tasting feedback, analyze the problems existing in the baking process and make adjustments in the next baking. For instance, if the acidity of the coffee is too high, the roasting time can be appropriately extended or the roasting temperature can be raised. If the coffee is too bitter, you can shorten the roasting time or lower the roasting temperature.