Why Your Coffee Grinder is Slowing Down: Common Causes and Solutions
A coffee grinder that suddenly grinds at a snail’s pace can disrupt your morning routine and lead to inconsistent results. Whether you’re using a manual or electric model, understanding the root causes of sluggish performance is key to restoring efficiency. Below, explore the most common reasons your grinder is losing speed and how to fix them.
Clogged or Dirty Components
Over time, coffee oils, fine particles, and residual grounds accumulate inside your grinder, creating friction that slows down the motor or grinding mechanism.
Buildup in the Burrs or Blades
- Impact: In electric grinders, clogged burrs (conical or flat) or blades (in blade grinders) struggle to rotate smoothly, forcing the motor to work harder. Manual grinders may feel stiff or require extra force to turn.
- Signs: Unusual noises, uneven grinding, or a burning smell from overheating.
- Solution: Disassemble removable parts (following the manufacturer’s instructions) and clean them with a soft brush or dry cloth. For stubborn residue, use a coffee-specific cleaning tablet or a mixture of rice and water (for blade grinders) to absorb oils.
Blocked Chute or Grounds Bin
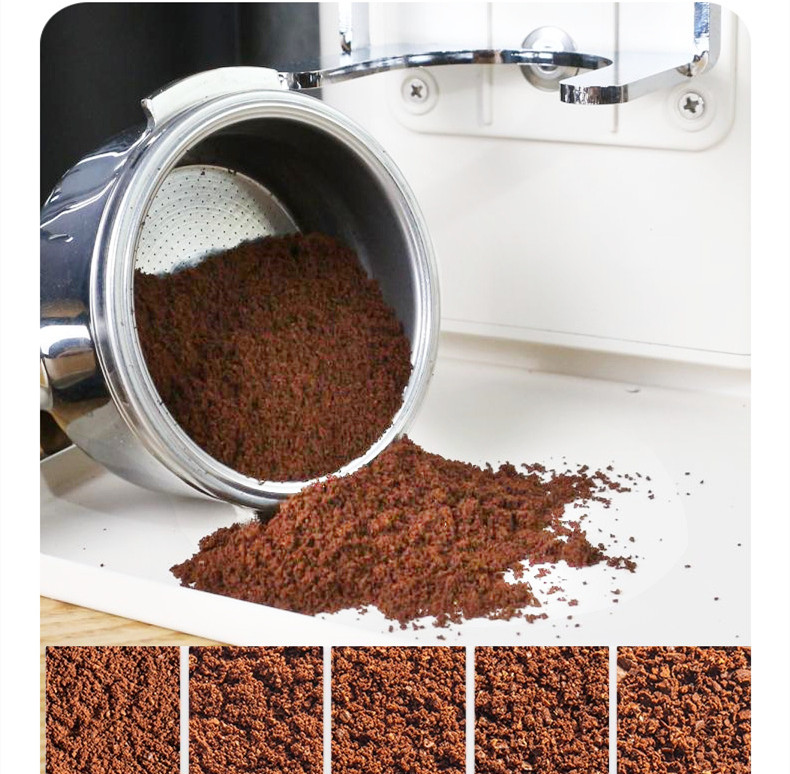
- Impact: Coffee grounds sticking to the chute, portafilter, or collection bin can create a bottleneck, preventing smooth discharge. This is common in humid environments or with oily beans.
- Signs: Grounds clumping together, incomplete emptying, or the grinder pausing mid-cycle.
- Solution: Wipe the chute and bin daily with a dry cloth. For manual grinders, tap the container gently to dislodge stuck particles. Avoid overfilling the hopper to reduce spillage.
Dirty Motor or Gear System (Electric Grinders)
- Impact: Dust and coffee particles can infiltrate the motor housing or gearbox, causing resistance. This is rare but more likely in older or poorly sealed models.
- Signs: The grinder starts slowly, vibrates excessively, or stops abruptly.
- Solution: Use compressed air to blow out dust from vents or openings (avoid disassembling the motor unless you’re trained). If the issue persists, consult a professional for servicing.
Worn-Out or Damaged Parts
Mechanical wear and tear is inevitable with frequent use, but neglecting replacements can lead to permanent damage.
Dull or Misaligned Burrs
- Impact: Burrs lose sharpness over time, requiring more force to crush beans. Misaligned burrs (common after drops or improper cleaning) also create friction.
- Signs: Inconsistent grind sizes, noisy operation, or the grinder taking twice as long to produce the same amount of grounds.
- Solution: Replace burrs according to the manufacturer’s recommended lifespan (typically every 300–500 lbs of coffee). Recalibrate alignment by adjusting the grind setting to its coarsest point and slowly tightening until the burrs touch (a faint grinding sound indicates contact).
Worn Drive Gear or Belt (Electric Grinders)
- Impact: In belt-driven grinders, a loose or frayed belt slips, reducing rotation speed. Gear-driven models may develop stripped teeth or cracks from overuse.
- Signs: The grinder runs intermittently, produces a grinding noise from the motor, or fails to start.
- Solution: Inspect belts for cracks or stretching and replace them if needed. For gear issues, contact the manufacturer for replacement parts or professional repair.
Loose or Damaged Handles (Manual Grinders)
- Impact: A wobbly handle or stripped threads in the grinding mechanism increases resistance, making it harder to turn.
- Signs: The handle slips during grinding, or the grinder produces uneven results despite steady effort.
- Solution: Tighten loose screws or bolts securing the handle. If threads are stripped, use a thread repair kit or replace the affected part.
Environmental or Operational Factors
External conditions and user habits can also slow down your grinder, even if the machine itself is in good condition.
High Humidity or Oily Beans
- Impact: Moisture from humid air or oily beans (like dark roasts or French roasts) causes grounds to stick together, clogging the burrs or chute.
- Signs: Grounds clumping in the portafilter, inconsistent flow, or the grinder pausing to “catch up.”
- Solution: Store beans in an airtight container with a desiccant pack to absorb moisture. For oily beans, clean the grinder more frequently and avoid grinding large batches at once.
Overloading the Hopper
- Impact: Filling the hopper beyond its capacity strains the motor or grinding mechanism, especially in low-wattage models.
- Signs: The grinder slows down mid-cycle, overheats, or shuts off to prevent damage.
- Solution: Grind beans in smaller batches (e.g., 10–15 grams at a time for espresso). Use a scale to measure doses accurately and avoid guessing.
Voltage Fluctuations (Electric Grinders)
- Impact: Unstable power supply (common in old buildings or areas with frequent outages) can cause the motor to run erratically.
- Signs: The grinder starts slowly, revs up and down, or emits a buzzing sound.
- Solution: Plug the grinder into a surge protector or dedicated outlet. If voltage issues persist, consult an electrician to check your home’s wiring.
By addressing clogs, replacing worn parts, and adjusting your grinding habits, you can restore your coffee grinder’s speed and efficiency. Regular cleaning, proper storage, and mindful usage are the best defenses against slow performance. If issues persist after troubleshooting, consult the manufacturer’s support team or a certified technician to avoid further damage.