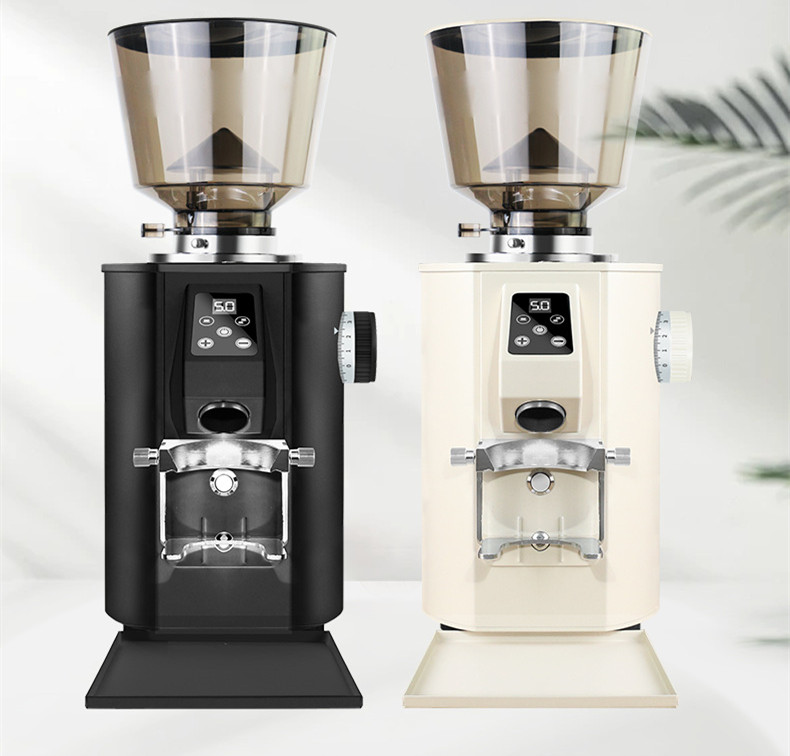
Effective Methods for Cleaning Coffee Grinder Residue After Use
Coffee grinders often retain fine grounds and oils after grinding, which can lead to stale flavors, clogged mechanisms, and reduced performance. Proper cleaning ensures consistent grind quality and extends the lifespan of your equipment. Below are detailed steps and tips to tackle residue buildup effectively.
Identifying Common Areas Where Residue Accumulates
Understanding where coffee grounds and oils collect helps target cleaning efforts efficiently.
Burr Chamber and Grinding Mechanism
- Why It Matters: The burrs, where beans are crushed, trap oils and fine particles over time. This buildup affects grind consistency and can introduce bitterness to brews.
- Signs of Buildup: Uneven grind sizes, slower grinding speed, or a rancid smell from the grinder.
- Cleaning Approach: Use a soft-bristled brush (like a clean paintbrush or toothbrush) to gently dislodge particles from the burrs. For stubborn residue, lightly dampen the brush with water or a food-safe cleaning solution, but avoid soaking the burrs.
Hopper and Grounds Container
- Why It Matters: The hopper (bean reservoir) and grounds container (chute or bin) are exposed to fresh beans and ground coffee, making them prone to oil transfer and static cling.
- Signs of Buildup: Sticky surfaces, visible coffee dust, or difficulty pouring beans smoothly.
- Cleaning Approach: Wipe these components with a dry microfiber cloth after each use. For oily residues, dampen the cloth with a mixture of water and mild dish soap, then dry thoroughly to prevent moisture damage.
Chute and Exit Pathway
- Why It Matters: The chute, where grounds exit the grinder, often clogs due to static electricity or humidity, leading to uneven dispensing or blockages.
- Signs of Buildup: Grounds accumulating around the chute opening, inconsistent output, or the grinder stopping mid-use.
- Cleaning Approach: Use a narrow brush or a can of compressed air to blow out trapped particles. Avoid using sharp tools, as they can scratch the chute and worsen static issues.
Step-by-Step Cleaning Process for Different Grinder Types
The method varies slightly between blade and burr grinders, but the goal remains removing residue without damaging internal parts.
Cleaning a Blade Grinder
- Step 1: Unplug and Disassemble: Remove the lid and blade assembly (if detachable). Some models require a screwdriver to access the blade.
- Step 2: Remove Loose Grounds: Shake the grinder gently over a trash can to dislodge large particles. Use a brush to sweep out remaining debris.
- Step 3: Deep Clean the Blade: Wipe the blade with a damp cloth, avoiding submersion in water. For stubborn oils, rub a small amount of uncooked rice through the grinder to absorb residue (run in short bursts to prevent motor strain).
- Step 4: Dry and Reassemble: Ensure all parts are completely dry before reassembling to prevent rust or electrical issues.
Cleaning a Burr Grinder
- Step 1: Unplug and Empty: Remove the hopper and grounds container. Set aside any removable burrs or rings (refer to the manual for guidance).
- Step 2: Brush the Burrs: Use a specialized grinder brush or a soft-bristled tool to clean both the upper and lower burrs. Rotate the burrs manually (if adjustable) to reach all angles.
- Step 3: Clean the Housing: Wipe the interior with a dry cloth. For oily buildup, dampen the cloth slightly, but avoid getting water near electrical components.
- Step 4: Reassemble and Test: Reattach all parts securely, then run a small amount of fresh beans through the grinder to flush out any remaining residue.
Preventing Future Residue Buildup with Proper Maintenance
Regular habits reduce the frequency of deep cleaning and maintain optimal grinder performance.
Grind Immediately Before Brewing
- Why It Helps: Freshly ground coffee is less likely to stick to surfaces compared to pre-ground coffee stored in the grinder. Grind only what you need for each brew to minimize residue.
- Implementation Tip: Use a scale to measure beans accurately, avoiding overfilling the hopper or grounds container.
Use Grinder-Specific Cleaning Tools
- Why It Helps: Dedicated brushes and tablets (made from natural materials like rice or cornstarch) are designed to absorb oils and dislodge particles without damaging the grinder.
- Implementation Tip: After brushing, run a handful of cleaning tablets through the grinder (following package instructions) to polish internal surfaces and neutralize odors.
Store Beans Properly
- Why It Helps: Whole beans stored in airtight containers away from light and heat retain freshness longer, reducing oil secretion that contributes to residue.
- Implementation Tip: Avoid transferring beans directly from the freezer to the grinder, as condensation can create moisture buildup. Let them reach room temperature first.
By focusing on targeted cleaning, adapting methods to your grinder type, and adopting preventive habits, you can keep your coffee grinder free of residue and ensure every cup tastes its best. Prioritize gentle tools and dry cleaning to protect delicate components, and address buildup promptly to avoid long-term damage.