Optimizing Airflow Control in Coffee Roasting: A Technical Guide to Damper Adjustment
Effective damper regulation in coffee roasting machines ensures even heat distribution, prevents scorching, and enhances flavor clarity. This guide explores how to manipulate airflow through damper settings across roast stages, focusing on practical techniques without relying on brand-specific tools.
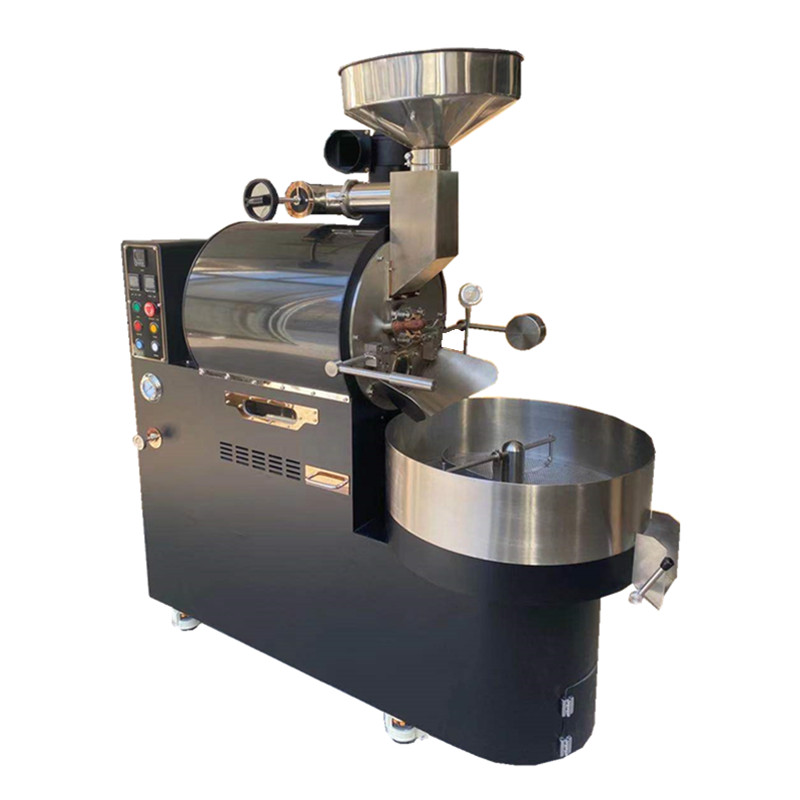
Understanding Damper Functionality: The Role of Airflow
The damper controls the volume of air entering and exiting the roasting chamber, influencing thermal dynamics and bean movement. Opening the damper increases airflow, cooling the drum and carrying away chaff, while closing it retains heat for deeper caramelization. Proper damper use balances these effects to achieve desired roast profiles.
Start by locating the damper control—typically a lever, knob, or digital slider—on your machine. Test its range by adjusting from fully closed to fully open, noting airflow changes. Use a handheld anemometer or observe bean agitation: higher airflow causes more vigorous tumbling, while lower settings slow movement.
Initial Roast Phase: Establishing Even Heat Distribution
During the first 3–5 minutes, beans absorb heat rapidly, risking uneven development if airflow is mismanaged. Begin with the damper 30–50% open to stabilize the environment. This allows moderate heat transfer while preventing excessive cooling from full airflow.
For high-density beans (e.g., Sumatran Mandheling), close the damper slightly (20–30% open) to retain heat, ensuring thorough dehydration. Lighter beans (like Ethiopian Sidamo) benefit from 40–60% damper opening to preserve delicate floral notes. Monitor drum temperature trends: if it drops more than 5°C after loading beans, reduce airflow by 10–15% to compensate.
Adjusting for Ambient Conditions:
Cold environments slow heat transfer, requiring a 10–20% wider damper opening to maintain momentum. Humid climates necessitate 5–10% more airflow to prevent moisture retention, which can extend the drying phase. Use a hygrometer to track humidity and adjust accordingly.
Mid-Roast Development: Refining Flavor and Body
As beans transition into the Maillard reaction (150–190°C), damper settings shape flavor complexity. Around first crack, increase airflow to 60–70% open to carry away volatile compounds, reducing bitterness. This step is critical for achieving bright acidity in light roasts or balanced sweetness in medium roasts.
For nutty or chocolatey profiles, close the damper to 40–50% during the Maillard phase to retain heat, deepening caramelization. If beans appear unevenly browned, toggle the damper between 50–70% every 30 seconds to “stir” them thermally. Use a trier to sample beans: glossy surfaces indicate proper moisture evaporation, while dull finishes suggest insufficient airflow.
Handling Chaff Buildup:
Chaff accumulation near the damper can restrict airflow, causing temperature spikes. Pause roasting every 5–7 minutes to clear debris manually or increase airflow temporarily to 80% open. If your machine lacks a chaff collector, position a fan near the exhaust to improve circulation.
Final Roast Stages: Nailing Consistency and Finish
Approaching the desired roast level (light, medium, or dark), fine-tune the damper to control development speed. For light roasts, close the damper to 20–30% after first crack to slow heat transfer, preserving acidity. Medium roasts thrive with 40–50% airflow, balancing sweetness and body. Dark roasts require 60–70% opening to carry away smoke and prevent ashy flavors.
If second crack is imminent (225–235°C), reduce airflow to 30–40% to extend development time without burning. Watch for bean surface oils: excessive oiliness indicates over-roasting, often caused by insufficient airflow. Conversely, dry beans suggest too much airflow, stripping away aromatic compounds.
Cooling Phase Considerations:
After roasting, open the damper fully to accelerate cooling, halting development immediately. If your machine lacks automated cooling, transfer beans to a perforated tray and use a fan to reduce temperature by 10–15°C per minute. Avoid sealing beans in containers until they reach room temperature to prevent condensation.
Advanced Techniques: Dynamic Damper Adjustments
Experienced roasters use pulsed airflow to manipulate flavor layers. For example, alternate between 50% and 70% damper openings every 15 seconds during the Maillard phase to create micro-variations in caramelization. This technique works best with small batches (100–200g) where heat retention is easier to manage.
Another method involves “airflow profiling,” where damper settings mirror temperature curves. Start with 40% opening, increase to 70% during first crack, then drop to 30% post-crack. Use software to log airflow data alongside temperature and RoR, identifying patterns that enhance specific origins.
Testing and Iteration:
Roast the same batch with varying damper settings (e.g., 30%, 50%, 70% opening) to compare results. Note differences in acidity, body, and aftertaste. For instance, a 50% opening might yield a brighter Kenyan AA, while 70% could emphasize its citrus notes at the cost of body. Document findings to refine future roasts.
By mastering damper adjustments across roast stages, you can elevate consistency and flavor precision. Start with incremental changes, prioritize sensory feedback, and adapt to environmental factors to unlock your machine’s full potential.