Comprehensive Guide to Cleaning the Interior Drum of a Coffee Roaster
Maintaining a clean coffee roaster drum is essential for consistent roast quality, preventing flavor contamination, and extending equipment lifespan. Residual oils, chaff, and burnt particles can accumulate on the inner walls, affecting heat distribution and bean development. Below are detailed methods to effectively clean and maintain the drum interior.
Pre-Cleaning Preparation
Cooling and Safety Measures
Before cleaning, ensure the roaster is fully cooled to avoid burns. Disconnect the power supply and wear heat-resistant gloves, safety goggles, and a dust mask. Ventilate the workspace to avoid inhaling airborne particles. A roaster once sustained burns when attempting to clean a hot drum without protective gear.
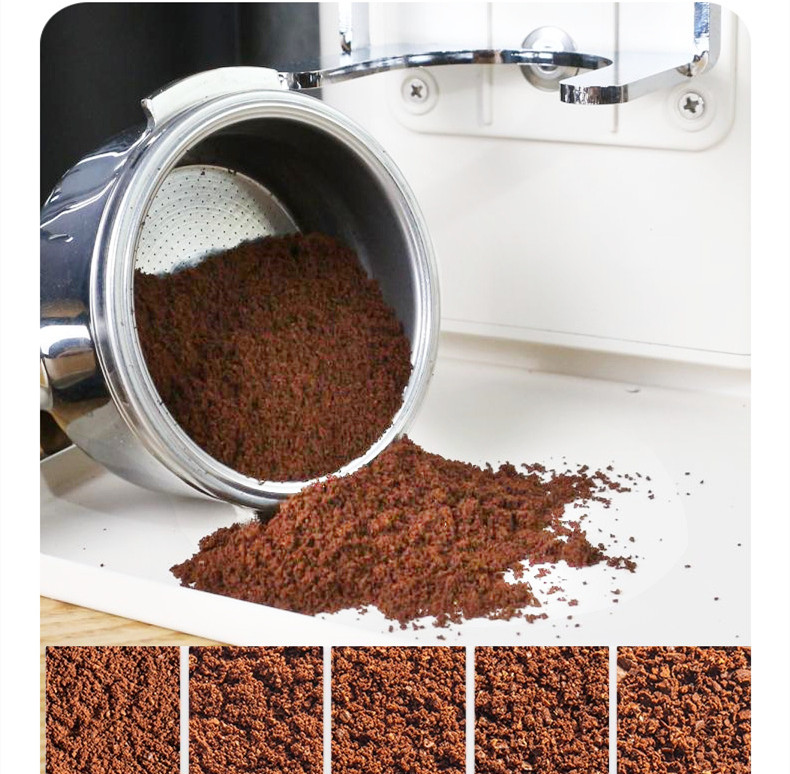
Removing Loose Debris
Use a soft-bristled brush or vacuum with a narrow attachment to remove loose chaff and debris from the drum’s interior. Focus on crevices, baffles, and the drum’s edges where particles often accumulate. Avoid metal brushes, as they may scratch the surface and create grooves for future buildup.
Disassembling Removable Parts
If possible, detach baffles, chutes, or agitators to access hidden areas. Soak these parts in warm, soapy water while cleaning the drum. Labeling components ensures proper reassembly. A roastery once faced uneven roasts after reinstalling baffles incorrectly post-cleaning.
Deep Cleaning Techniques
Natural Degreasing with Vinegar and Baking Soda
Create a paste using equal parts baking soda and water. Apply it to oily patches on the drum walls, scrubbing gently with a non-abrasive sponge. For stubborn residue, mix white vinegar with water (1:1 ratio) and spray the solution onto the surface. The reaction between vinegar and baking soda lifts grease without harsh chemicals. Rinse thoroughly with a damp cloth to avoid residual taste.
Steam Cleaning for Stubborn Buildup
Fill a steam cleaner with distilled water and direct the nozzle at the drum’s interior. The high-temperature steam dissolves hardened oils and chaff. Move the nozzle systematically to cover all areas, especially near the drum’s seams. After steaming, wipe the surface with a microfiber cloth to remove loosened debris. A roaster reported improved heat transfer after adopting steam cleaning.
Manual Scraping for Burnt Residue
For heavily caked-on particles, use a wooden or silicone scraper to gently dislodge buildup. Avoid metal tools, which may damage the drum’s finish. Apply moderate pressure and work in small sections. After scraping, follow up with a degreasing solution to remove remaining residue. A roastery reduced drum maintenance costs by addressing burnt spots early.
Post-Cleaning Maintenance
Drying the Drum Thoroughly
After cleaning, leave the drum open and use a fan to circulate air inside. Ensure no moisture remains, as dampness can lead to rust or mold growth. For faster drying, run the roaster on its lowest heat setting for 10–15 minutes with the door ajar. A roaster once faced corrosion after reassembling a wet drum.
Applying Food-Grade Lubricant
Once dry, apply a thin layer of food-grade mineral oil to the drum’s interior using a clean cloth. This protects the surface from oxidation and reduces friction during roasting. Avoid vegetable-based oils, which can turn rancid. A roastery extended its drum’s lifespan by incorporating this step into its routine.
Regular Inspection for Wear
Schedule weekly visual checks for scratches, pitting, or uneven surfaces. Address minor damage promptly to prevent further degradation. Use a flashlight to inspect hard-to-see areas. A roaster detected early rusting and applied a protective coating, avoiding costly replacements.
Preventing Future Buildup
Adjusting Roasting Profiles
Avoid excessive roasting temperatures, which cause oils to caramelize and stick to the drum. Opt for slightly lower temperatures and longer roast times to reduce residue. Monitoring bean flow rates also minimizes chaff accumulation. A roastery reduced cleaning frequency by 30% after optimizing its profiles.
Installing Chaff Collection Systems
Upgrade to a high-efficiency chaff collector or add a secondary filtration system to capture finer particles. Regularly empty and clean the collector to prevent overflow. A roaster noticed cleaner drums after installing a cyclone separator.
Using Protective Liners
For commercial roasters, consider removable drum liners made of food-safe materials. These liners catch oils and chaff, making cleanup quicker. Replace liners after each batch or as needed. A roastery cut cleaning time in half by adopting this practice.
By following these steps, roasters can maintain pristine drum interiors, ensuring optimal performance and flavor purity. Consistent cleaning and preventive measures reduce downtime and enhance the longevity of critical equipment.