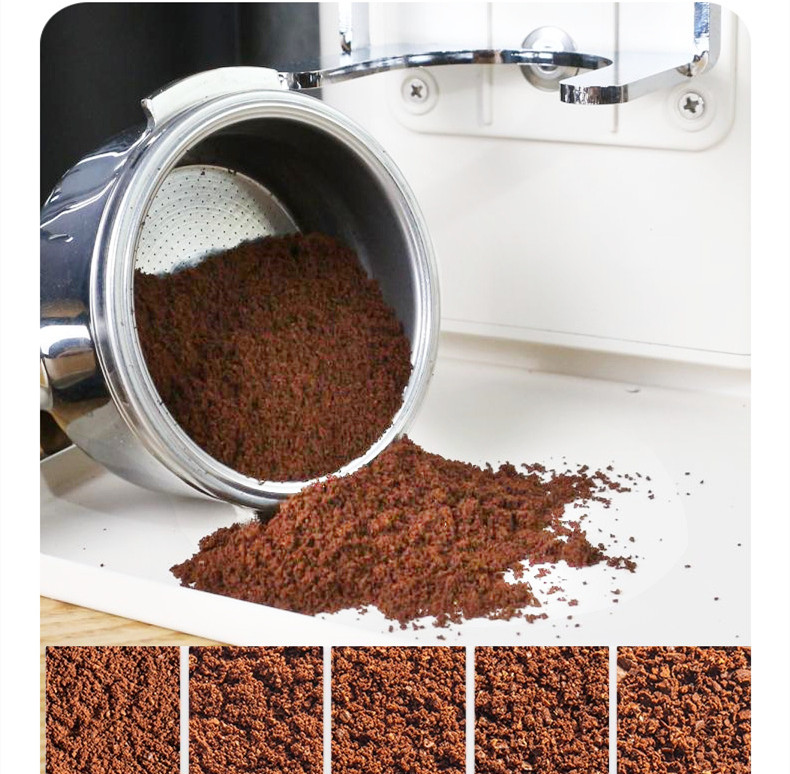
Troubleshooting Unusual Vibration in Coffee Grinders During Operation
Excessive vibration in a coffee grinder during use can disrupt grind consistency, create noise, and indicate underlying mechanical issues. While minor vibrations are normal, sudden or intense shaking often stems from misalignment, wear, or improper handling. Below are common causes and actionable solutions to stabilize your grinder.
Common Causes of Abnormal Vibration
Identifying the root of the problem is the first step toward resolving it. Several factors contribute to erratic shaking, ranging from simple user errors to component failures.
- Uneven bean distribution in the hopper: If beans are loaded unevenly or the hopper is overfilled, the grinder may struggle to process them uniformly, causing imbalanced rotation.
- Worn or damaged burrs: Over time, burrs become dull, chipped, or misshapen, leading to irregular grinding action. This imbalance creates vibrations as the motor attempts to compensate.
- Loose internal components: Screws, bolts, or housing parts that have loosened due to regular use can rattle during operation, amplifying vibrations.
- Foreign objects in the grinder: Small debris, such as stones or hard bean fragments, can get stuck between burrs or in the chute, disrupting smooth rotation.
Immediate Steps to Reduce Vibration During Use
If the grinder starts vibrating unexpectedly, take these actions to prevent further damage and stabilize performance.
- Pause grinding and inspect the hopper: Redistribute beans evenly or reduce the quantity to ensure consistent feeding into the burrs. Avoid overloading, as this strains the motor and burrs.
- Check for visible obstructions: Turn off and unplug the grinder, then carefully examine the burrs and chute for foreign objects. Use a soft brush or tweezers to remove any debris without damaging components.
- Listen for unusual noises: Grinding sounds that accompany vibrations—such as grinding, clicking, or scraping—may indicate burr damage or misalignment. Proceed to inspect the burrs if these noises persist.
Long-Term Solutions for Burr-Related Vibration
Dull or damaged burrs are a leading cause of excessive vibration. Addressing burr condition restores smooth operation and improves grind quality.
- Replace worn burrs: Most grinders require burr replacement every 6–12 months, depending on usage frequency. Refer to the manufacturer’s guidelines for compatible burr types and installation instructions.
- Realign misaligned burrs: If burrs are loose or improperly seated, tighten them according to the manual. Some models allow for minor adjustments to ensure parallel rotation, reducing imbalance.
- Clean burrs thoroughly: Residual coffee oils and grounds can harden on burrs, creating uneven surfaces. Use a stiff brush and warm, soapy water to scrub burrs, then dry them completely before reinstalling.
Preventative Maintenance to Minimize Vibration
Regular upkeep reduces the likelihood of vibration issues by addressing minor problems before they escalate.
- Tighten loose components periodically: Check screws, bolts, and housing panels for tightness. Use a screwdriver or wrench to secure any loose parts, focusing on areas near the motor and burrs.
- Balance bean feeding habits: Avoid grinding large batches in one session. Instead, process smaller amounts with breaks in between to reduce strain on the motor and burrs.
- Store the grinder on a stable surface: Place the grinder on a flat, non-slip mat to absorb residual vibrations and prevent it from shifting during use. Ensure the surface is level to avoid tilting.
By systematically diagnosing and addressing the causes of abnormal vibration, users can restore their coffee grinder’s stability and performance. These steps protect the machine’s longevity while ensuring consistent, high-quality grinds for every brew.


