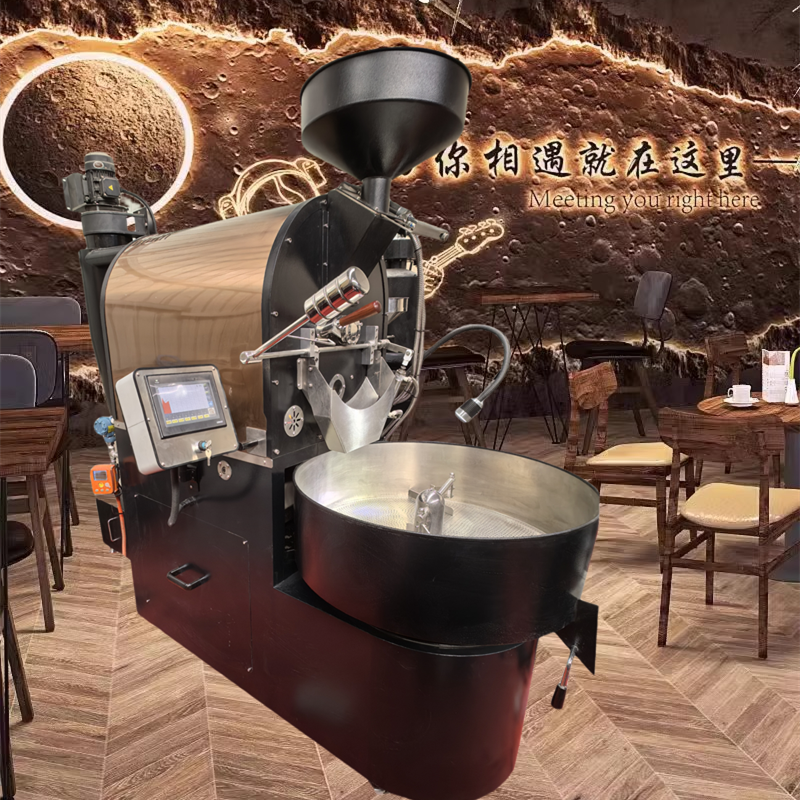
Roasting coffee beans with a gas coffee roaster involves several steps to ensure you achieve the desired roast level and flavor profile. Here’s a step-by-step guide to help you through the process:
- Preparation
– Select Your Beans: Choose high-quality green coffee beans. The origin and variety of the beans will influence the flavor.
– Preheat the Roaster: Turn on your gas roaster and allow it to reach the appropriate temperature. Typically, this is between 180°C to 250°C (356°F to 482°F), depending on the roaster and the desired roast level.
– Measure the Beans: Weigh the green coffee beans. A good starting point is to use a batch size recommended by your roaster’s manufacturer. - Loading the Beans
– Charge the Roaster: Once the roaster is preheated, load the green coffee beans into the roasting drum. This is known as “charging” the roaster.
– Start the Roast: Begin the roasting process by starting the drum rotation and ensuring the beans are evenly distributed. - Roasting Process
– Monitor the Temperature: Keep an eye on the temperature throughout the roast. Use the roaster’s thermometer to track the bean temperature.
– Listen for the First Crack: As the beans roast, they will go through several stages. The first crack is a crucial point where the beans expand and make a cracking sound. This usually occurs around 196°C to 205°C (385°F to 401°F) and indicates the start of a light roast.
– Adjust the Heat: Depending on your desired roast level, you may need to adjust the gas flame. Lower the heat slightly after the first crack to control the roast development.
– Monitor the Color and Smell: Pay attention to the color of the beans and the aroma. The beans will darken, and the smell will change from grassy to more roasted and complex. - Determining the Roast Level
– Light Roast: Stop the roast shortly after the first crack if you prefer a light roast.
– Medium Roast: Continue roasting until the beans reach a medium brown color, typically a few minutes after the first crack.
– Dark Roast: For a dark roast, wait until you hear the second crack, which is a more rapid and quieter cracking sound. This usually occurs around 225°C to 230°C (437°F to 446°F). - Cooling the Beans
– Stop the Roast: Once the desired roast level is achieved, quickly cool the beans to stop the roasting process. Most gas roasters have a cooling tray or mechanism.
– Cooling Time: Ensure the beans are cooled rapidly to prevent over-roasting. This usually takes a few minutes. - Resting the Beans
– Degassing: Allow the roasted beans to rest for at least 12 to 24 hours. This allows them to degas and develop their full flavor profile.
– Storage: Store the beans in an airtight container away from light, heat, and moisture. - Cleaning the Roaster
– Clean the Roaster: After roasting, clean the roaster to remove any chaff (the outer skin of the beans) and coffee oils that can accumulate and affect future roasts.
Tips for Success:
– Keep Records: Take notes on each roast, including temperature, time, and any adjustments made. This will help you replicate successful roasts and improve your technique.
– Experiment: Don’t be afraid to experiment with different roast profiles and bean varieties to find your preferred flavor.
– Safety: Always follow the manufacturer’s safety guidelines when operating a gas roaster.
By following these steps, you can roast coffee beans to your desired level and enjoy the rich, complex flavors of freshly roasted coffee.

Facebook
Twitter
LinkedIn

