Repairing Grind Size Adjustment Failures in Coffee Grinders During Use
A coffee grinder’s inability to adjust grind size mid-operation disrupts brewing consistency, leading to uneven extraction or clogged filters. This issue often stems from mechanical wear, debris buildup, or calibration errors. Below are detailed steps to diagnose and resolve grind adjustment problems without professional tools or brand-specific parts.
Common Reasons for Grind Adjustment Failure
Understanding the root causes helps prioritize troubleshooting efforts. Many adjustment issues are linked to user-induced wear or environmental factors.
- Stuck adjustment dial or lever: Coffee oils, dust, or moisture can accumulate around the adjustment mechanism, causing it to seize. This is common in grinders with manual dials or threaded collars.
- Worn internal gears or threads: Over time, plastic or metal gears responsible for moving burrs closer or farther apart may strip, crack, or lose teeth, rendering adjustments ineffective.
- Misaligned burrs blocking movement: If burrs are installed incorrectly or shift during use, they may press against each other, preventing the adjustment mechanism from rotating freely.
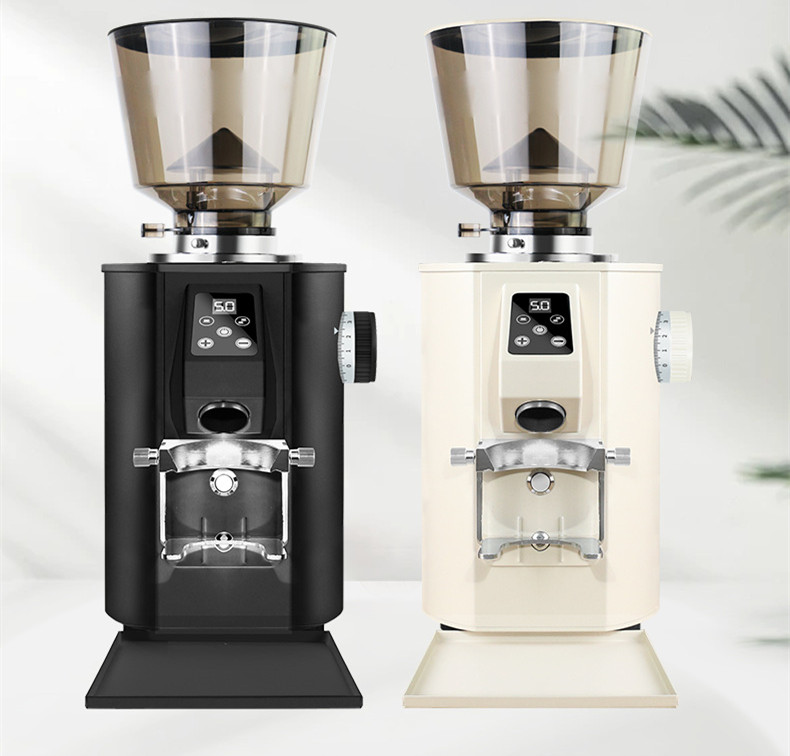
- Electronic calibration errors (for digital models): In grinders with digital displays, software glitches or sensor malfunctions can disrupt grind size programming, requiring recalibration.
Manual Adjustment Mechanism Repair Steps
For grinders with dials, collars, or levers, follow these methods to restore functionality.
- Clean the adjustment component thoroughly: Unplug the grinder and disassemble the top housing or adjustment assembly according to the manual. Use a soft brush and warm, soapy water to scrub the dial, threads, or gears. For stubborn residue, apply a food-safe degreaser and wipe dry.
- Lubricate moving parts with care: Apply a thin layer of food-grade silicone grease or petroleum jelly to the adjustment threads or gears. Avoid over-lubricating, as excess grease attracts dust and coffee particles, worsening the issue.
- Check for stripped threads or gears: Inspect the adjustment mechanism for visible damage. If threads on the collar or gears appear worn, gently file rough edges with a fine-grit file (if metal) or replace the damaged part if possible.
Resolving Burr Misalignment Issues
Incorrect burr installation or shifting during use often prevents grind size adjustments. Address this by:
- Reinstalling burrs properly: Remove the upper burr (or both burrs, if accessible) and reattach them according to the manufacturer’s instructions. Ensure they sit flush and rotate freely without wobbling.
- Testing burr movement manually: With the grinder unplugged, rotate the adjustment dial or lever while observing the burrs. They should move closer or farther apart smoothly. If they resist, check for debris trapped between them or in the burr carrier.
- Securing loose burr carriers: Some grinders use a carrier plate to hold burrs in place. If this plate is loose, tighten any screws or bolts securing it to prevent burr shifting during operation.
Fixing Electronic Adjustment Glitches (Digital Models)
For grinders with digital interfaces, software or sensor issues may disrupt grind size settings. Try these solutions:
- Reset the grinder to factory settings: Many digital grinders include a reset function. Consult the manual to locate the reset button or sequence (often holding a combination of buttons for 5–10 seconds).
- Recalibrate the grind sensor: Some models require periodic recalibration. Place a empty portafilter or container under the chute, run the grinder briefly, and follow on-screen prompts to adjust sensitivity or zero the sensor.
- Inspect for moisture or debris in the sensor area: Digital sensors are sensitive to dust and humidity. Use a can of compressed air (on a low setting) to blow out debris around the sensor, then wipe the area with a dry, lint-free cloth.
Preventative Maintenance to Avoid Future Adjustment Problems
Regular upkeep reduces the likelihood of grind adjustment failures by addressing minor issues before they escalate.
- Clean the grinder after each use: Empty the grounds container and brush away residue from the burrs, chute, and adjustment assembly. This prevents oil buildup that can gum up moving parts.
- Avoid forcing the adjustment mechanism: If the dial or lever resists, stop and investigate the cause instead of applying excessive pressure, which can strip threads or damage gears.
- Store the grinder in a dry environment: Humidity accelerates corrosion and oil congealing, both of which hinder adjustment mechanisms. Use a dehumidifier or silica gel packs in storage areas if needed.
By systematically diagnosing and addressing grind adjustment issues through cleaning, realignment, and recalibration, users can restore their coffee grinder’s precision and consistency. These steps ensure reliable performance without requiring specialized tools or brand-specific repairs.