Essential Tips for Beginners Using Coffee Roasting Machines
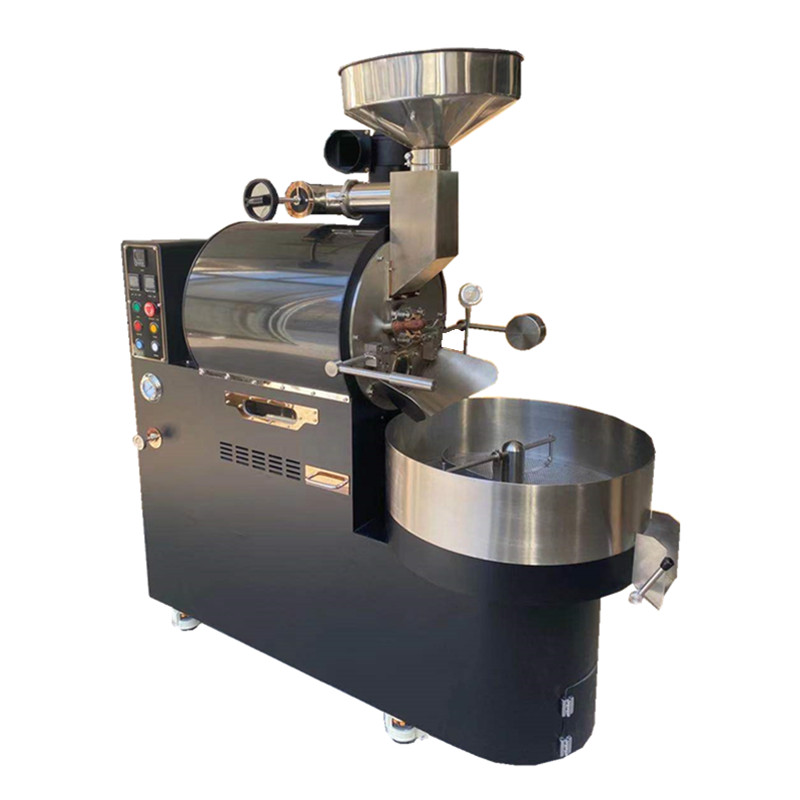
For coffee enthusiasts stepping into the world of home roasting, mastering a coffee roasting machine can be both exciting and challenging. Understanding the core principles and practical techniques is crucial to achieving consistent, flavorful roasts. Below are actionable insights to help beginners navigate their first roasting sessions with confidence.
Understanding Your Machine’s Heat Dynamics
Most roasting machines rely on either direct flame or hot air circulation to transfer heat. Direct flame machines (similar to gas stoves) provide intense, rapid heating, while hot air systems (resembling hair dryers) distribute heat more evenly but may require longer roasting times. Before starting, identify your machine’s heat source and adjust your approach accordingly. For example, direct flame models demand precise flame control to avoid scorching, whereas hot air machines benefit from steady airflow adjustments to maintain uniform roasting.
A critical step often overlooked is preheating the machine. Preheating ensures the entire system—including the drum, walls, and internal components—reaches a stable temperature before introducing beans. This prevents excessive heat loss when cold beans are added, which could disrupt the roasting curve. Aim to preheat until the machine’s internal temperature stabilizes within 5–10°C of your target starting point. For instance, if your goal is to begin roasting at 190°C, preheat until the machine consistently reads 185–195°C.
Crafting a Roasting Plan with Temperature Benchmarks
Newcomers should prioritize temperature-based milestones over rigid time schedules, as beans react differently based on density, moisture content, and machine efficiency. Key temperature stages include:
1. Drying Phase (100–160°C)
During this stage, beans lose residual moisture and transition from green to yellow. For water-processed beans, start at 150°C; for naturally processed or high-moisture beans, begin at 120°C to avoid uneven drying. Monitor the beans’ color and aroma—a toasty, bread-like scent indicates proper moisture evaporation. If beans appear patchy or smell grassy, extend this phase by 30–60 seconds.
2. Maillard Reaction & Development (160–205°C)
As beans turn brown, sugars and amino acids react, creating complex flavors. This stage ends with the first crack (195–205°C), a popping sound signaling the beans’ expansion. Adjust your machine’s heat output here: lower the flame or reduce airflow to prolong this phase for sweeter, fruitier notes, or increase heat for a bolder, nuttier profile. For example, a 10-second delay after the first crack can enhance caramelization without over-roasting.
3. Post-Crack Development (Optional)
After the first crack, beans enter a brief window where flavors intensify. For light roasts, stop roasting immediately; for medium roasts, extend by 30–90 seconds; for dark roasts, continue until the second crack (225–230°C), but exercise caution to avoid bitterness. Use a timer alongside temperature readings to refine consistency.
Managing Common Pitfalls for Better Results
1. Uneven Roasting
Beans may stick to the drum’s edges or cluster in the center if the machine’s rotation speed is miscalibrated. Optimal speeds vary by model, but a general rule is to set the drum at 50–70 RPM to ensure beans tumble freely without flying out. If your machine lacks adjustable speed, manually agitate the beans every 2–3 minutes during the drying phase.
2. Inconsistent Batch Sizes
Overloading the machine causes uneven heat distribution, while underloading leads to overly rapid roasting. Start with 50% of the machine’s maximum capacity to build familiarity with its behavior. For example, if your machine holds 500g, begin with 250g batches. Gradually increase load size as you refine your technique.
3. Post-Roast Handling
Beans retain residual heat after exiting the machine, continuing to develop flavors for 12–24 hours. To halt this process, cool beans rapidly using a colander or dedicated cooling tray with a fan. Stir gently to prevent clumping. Once cooled, discard discolored or damaged beans—such as those with holes (insect damage) or uneven coloring—to ensure a clean, balanced flavor profile.
Iterative Learning Through Documentation
Keep a roasting journal to track variables like bean origin, preheat temperature, milestone times, and flavor outcomes. For instance, note whether a Colombian bean roasted at 190°C with a 90-second post-first-crack development tasted brighter than a batch roasted at 200°C with 60 seconds. Over time, patterns will emerge, helping you tailor roasts to specific preferences.
By focusing on heat management, temperature benchmarks, and systematic adjustments, beginners can transform raw beans into aromatic, customized roasts. Experimentation, paired with patience, is key to mastering this rewarding craft.