Mastering Manual Coffee Roasting: Techniques for Consistency and Flavor
Manual coffee roasting machines offer enthusiasts direct control over the roasting process, enabling nuanced flavor development and experimentation. Unlike automated systems, these devices require hands-on attention to temperature, timing, and bean movement. Below, we explore the foundational steps and advanced techniques for achieving professional-quality roasts at home.
Preparing the Machine and Green Beans
Before starting, ensure your roasting chamber is clean and free of residual oils or chaff. A thorough wipe-down with a dry cloth prevents flavor contamination between batches. Next, measure your green coffee beans using a kitchen scale for precision—typically 200–300 grams per batch for small roasters.
Sorting beans: Remove any debris, broken beans, or foreign objects. Uniformity in size and density ensures even roasting.
Preheating the machine: Activate the heating element 5–10 minutes before adding beans. Most manual roasters rely on direct heat from a gas burner or electric coil, so aim for a preheat temperature of 160–180°C (320–356°F). This baseline heat accelerates the initial drying phase.
Monitoring Temperature and Timing
Manual roasting demands constant vigilance over thermal dynamics. Use an infrared thermometer or probe to track the bean surface temperature, adjusting heat input as needed.
Stages of roasting:
- Drying phase (0–5 minutes): Beans absorb heat, releasing moisture. Maintain a steady temperature around 160°C to prevent scorching.
- Yellowing and browning (5–10 minutes): Beans transition from green to yellow, then tan, as sugars begin to caramelize. Increase heat slightly to 180–190°C to encourage Maillard reactions.
- First crack (10–12 minutes): Audible popping signals the release of steam and CO2. This milestone indicates medium roast development. For lighter roasts, stop here; for darker profiles, continue.
- Second crack (optional, 13–15 minutes): A softer, rapid popping marks the onset of dark roast territory. Proceed cautiously to avoid burnt flavors.
Adjusting heat: If the roast progresses too quickly, lower the flame or reduce electric power. Conversely, a sluggish roast may require a brief heat boost. Consistency comes from practice—log temperatures and times to refine your approach.
Agitating Beans for Even Development
Uniform roasting relies on constant bean movement to prevent hot spots. Manual roasters typically use a hand-cranked agitator or manual stirring rod.
Technique: Rotate the agitator every 30–60 seconds, ensuring beans tumble freely. Pay attention to the chamber’s edges, where beans may stick. For fluid-bed roasters, gently shake the container to redistribute beans.
Chaff management: As beans roast, they shed a papery husk called chaff. Use a mesh screen or external chaff collector to minimize airborne particles. If chaff accumulates, pause roasting briefly to clear it, as excessive buildup can insulate beans and slow heat transfer.
Cooling and Post-Roast Handling
Once the desired roast level is achieved, halt heating and initiate cooling immediately. Residual heat can continue roasting beans post-machine, risking overdevelopment.
Cooling methods:
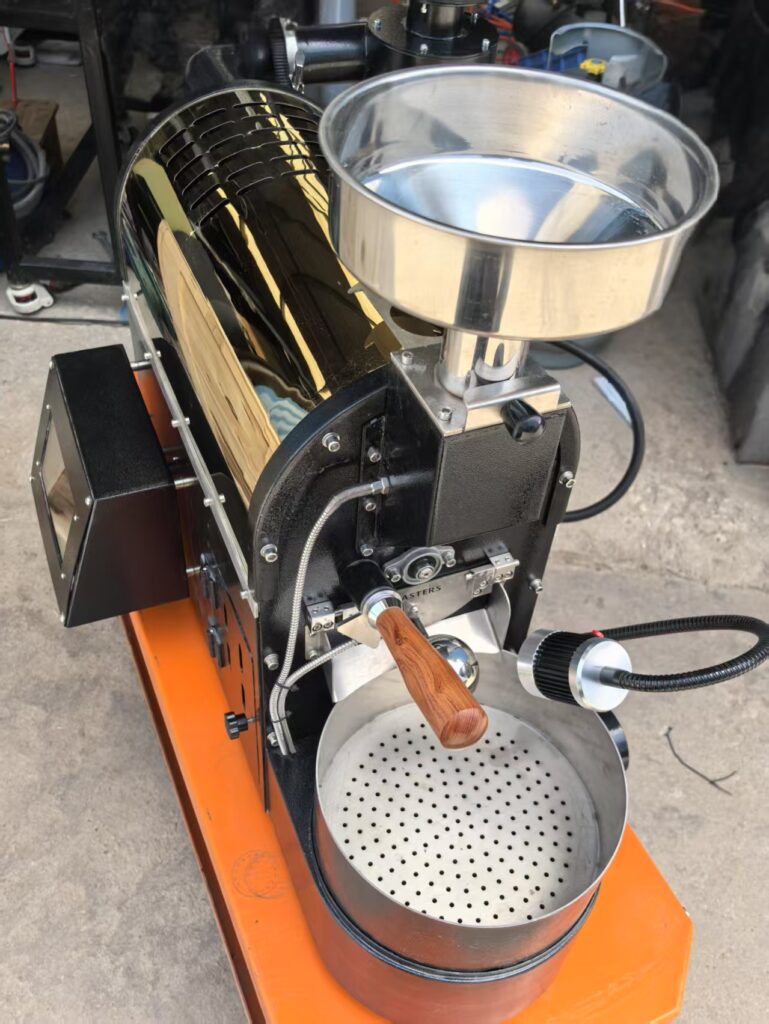
- Air cooling: Transfer beans to a metal colander or perforated tray. Use a fan or gentle shaking to circulate air, reducing temperature rapidly.
- Water quenching (avoid): While some roasters use water to stop roasting, this dilutes flavors and introduces moisture. Stick to air cooling for optimal taste.
Degassing: Freshly roasted beans emit CO2 for 12–24 hours. Store them in a breathable container (e.g., a paper bag) for this period before sealing in an airtight jar. This step prevents off-gassing from creating pressure and maintains freshness.
Troubleshooting Common Challenges
Manual roasting involves trial and error. Here’s how to address frequent issues:
Uneven roasting: If some beans are darker than others, improve agitation frequency or adjust heat distribution. A sloped roasting chamber can also help beans roll consistently.
Scorched beans: High heat or insufficient stirring causes burning. Lower the temperature and stir more vigorously during the first crack.
Underdeveloped flavors: A roast that ends too early may taste grassy. Extend the browning phase by 1–2 minutes, ensuring sugars fully caramelize.
Manual coffee roasting rewards patience and observation. By mastering temperature control, agitation, and cooling, enthusiasts can unlock complex flavor profiles tailored to their preferences. Start with small batches, document each roast, and refine your technique over time—the journey to perfecting your cup is as rewarding as the result.