Comprehensive Maintenance Guide for Coffee Roasters: Ensuring Longevity and Quality
Maintaining a coffee roaster is critical for achieving consistent roast profiles, extending equipment lifespan, and ensuring safety in your workspace. Regular upkeep prevents issues like uneven heating, excessive smoke, or mechanical failures that can compromise both flavor and efficiency. This guide breaks down essential maintenance tasks into actionable steps, tailored for roasters of all sizes and experience levels.
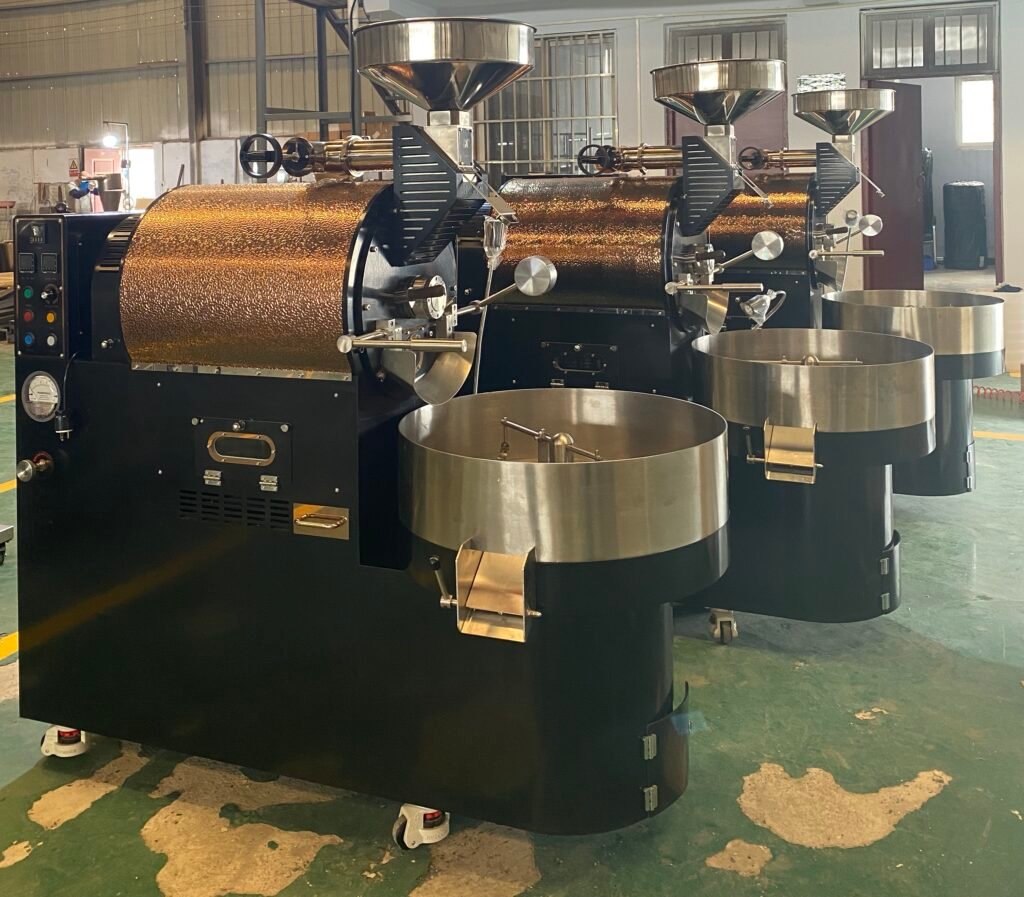
Daily Maintenance Routines: Preventing Immediate Buildup
Daily tasks focus on addressing residue and debris that accumulate during each roasting session. These steps minimize the risk of flavor contamination and mechanical strain over time.
Cleaning the Chaff Collector:
The chaff collector traps lightweight husks shed during roasting, but if left unchecked, it can become a fire hazard. After each session, empty the collector into a metal container (never plastic, as chaff can smolder). Use a soft brush to dislodge stubborn particles stuck to the screen or walls. For models with removable trays, rinse them under warm water and dry thoroughly before reinserting.
Wiping Down the Drum and Agitator:
Oil and fine chaff often cling to the drum’s interior and agitator paddles. After the roaster cools, use a microfiber cloth dampened with water (or a mild, food-safe degreaser for heavy buildup) to wipe these surfaces. Pay attention to crevices where residue hides, such as the agitator’s center shaft or the drum’s seams. Avoid abrasive sponges that could scratch metal and create rough spots for future buildup.
Checking Airflow and Exhaust:
Poor airflow leads to uneven roasts and overheating. Quickly inspect the exhaust vent for blockages caused by chaff or carbon deposits. Use a flashlight to look inside the duct (if accessible) for visible obstructions. A quick test: Turn on the roaster briefly (without beans) and place your hand near the vent—you should feel steady suction. Weak airflow signals a need for deeper cleaning.
Weekly Deep-Cleaning Tasks: Addressing Hidden Residue
Weekly maintenance targets areas that accumulate residue over multiple roasts, such as ductwork, fans, and cooling systems. These tasks require more time but are crucial for preventing long-term damage.
Clearing Ductwork and Vents:
Chaff and carbon can clog ducts, restricting airflow and causing the roaster to work harder. Use a flexible brush or pipe cleaner to dislodge debris from vents and duct openings. For rigid ducts, a long-handled brush or vacuum with a hose attachment can reach deeper. Avoid water inside ducts, as moisture promotes mold and rust. If ducts are removable, take them outside and tap them gently to shake out loose particles.
Inspecting and Cleaning the Cooling Tray:
The cooling tray collects fine chaff and dust as beans rest after roasting. Over time, oil from the beans can harden on the tray’s surface, creating a sticky layer. Use a stiff-bristled brush to scrub the tray, focusing on corners and edges. For stubborn residue, dampen a cloth with a small amount of water or a mild detergent (avoid harsh chemicals that leave odors). Ensure the tray is completely dry before the next roast to prevent beans from sticking.
Lubricating Moving Parts:
Roasters rely on hinges, bearings, and agitator mechanisms to function smoothly. Weekly lubrication reduces friction and wear. Apply a food-grade silicone spray or grease to hinges on access panels, the agitator’s center shaft, and any other moving joints. Wipe away excess lubricant to prevent dust buildup. Avoid petroleum-based products, as they can degrade rubber seals or leave residues that affect flavor.
Monthly and Seasonal Checks: Ensuring Long-Term Reliability
Monthly and seasonal tasks focus on components that degrade slowly, such as heating elements, electrical connections, and structural integrity. These checks help identify issues before they escalate into costly repairs.
Testing Heating Elements and Thermostats:
Inconsistent heating is often caused by faulty elements or thermostats. Use an infrared thermometer to compare the drum’s surface temperature with the roaster’s display readings. Discrepancies may indicate a malfunctioning thermostat or uneven heat distribution. For electric roasters, inspect heating coils for cracks or discoloration, which suggest overheating. Gas roasters should be checked for proper flame color (blue with a yellow tip) and even distribution across burners.
Examining Electrical Wiring and Connections:
Vibration from roasting can loosen electrical connections over time, creating safety hazards. Monthly, turn off the roaster and unplug it before inspecting wires for fraying, cracks, or loose plugs. Tighten any loose connections and replace damaged wiring immediately. Check grounding wires to ensure they’re secure, as poor grounding can cause electrical interference or shocks.
Seasonal Calibration and Structural Review:
Every few months, recalibrate your roaster’s temperature and time settings to account for seasonal changes in ambient temperature or humidity. Follow the manufacturer’s instructions for adjusting thermostats or timers. Additionally, inspect the roaster’s frame for cracks, rust, or warping, especially if it’s stored in a damp or unheated environment. Tighten loose bolts and replace worn gaskets around doors or access panels to maintain airtight seals.
By integrating these daily, weekly, and monthly tasks into your routine, you’ll keep your coffee roaster running smoothly, produce consistently high-quality roasts, and avoid unexpected downtime. Adapt these steps to your specific model’s design and usage frequency, and always prioritize safety by working with the roaster turned off and cooled down.