Mastering Coffee Grinder Demonstrations in Educational Settings: Key Techniques for Effective Teaching
Demonstrating coffee grinder operation in a teaching environment requires clarity, precision, and adaptability to ensure students grasp both theoretical concepts and practical skills. Whether training baristas, hobbyists, or coffee enthusiasts, focusing on grind consistency, machine mechanics, and safety protocols enhances learning outcomes. Below, explore essential strategies for structuring engaging and informative grinder demonstrations.
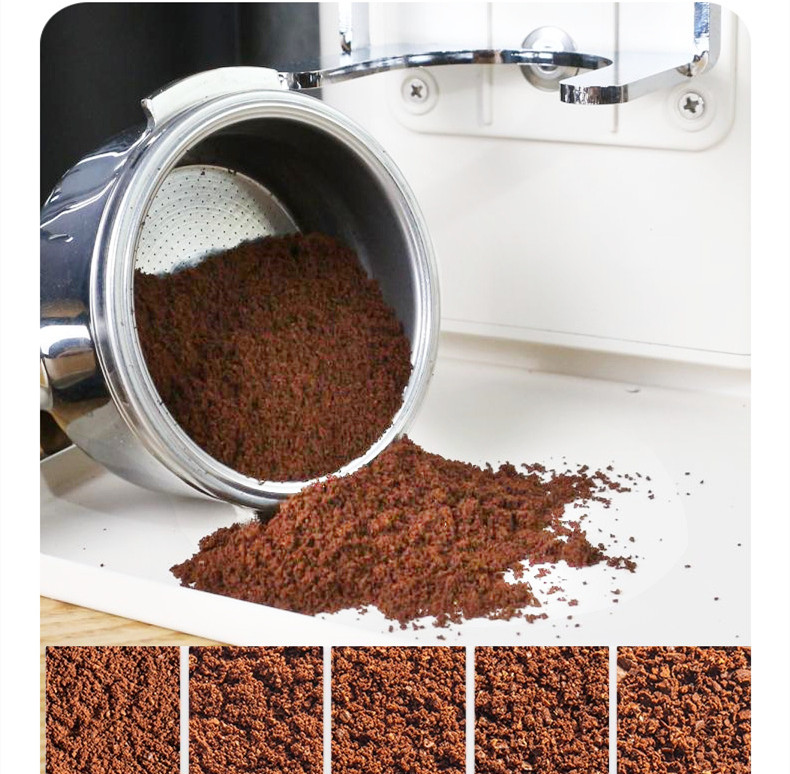
Understanding Grinder Mechanics and Settings
A successful demonstration begins with a clear explanation of how grinders function and how adjustments impact coffee quality.
- Burr vs. Blade Grinders: Start by distinguishing between burr and blade grinders. Burr models crush beans between two abrasive surfaces, producing uniform particles ideal for consistent extraction. Blade grinders chop beans unevenly, leading to a mix of fine and coarse grounds that can cause over- or under-extraction. Use visual aids like side-by-side ground samples to highlight differences.
- Adjusting Grind Size: Explain how grind size affects brewing methods—coarse for French press, medium for drip, and fine for espresso. Demonstrate how to modify settings on a grinder, emphasizing the importance of small, incremental changes. For manual adjustments, show how to turn dials or knobs and check calibration marks. For digital models, guide students through programming interfaces.
- Impact of Grind Consistency: Stress that uniformity is critical for balanced flavor. Use a sieve or sifter to separate grounds into different sizes, illustrating how inconsistent grinds lead to uneven extraction. Encourage students to touch and observe the particles to develop a tactile understanding of quality.
Step-by-Step Grinding Demonstration
Break down the grinding process into clear, actionable steps to help students replicate techniques confidently.
- Preparing the Grinder: Begin by cleaning the grinder to remove residual oils or old grounds that could contaminate fresh coffee. Show how to brush the burrs or blades and wipe down the hopper and chute. Explain why a clean grinder ensures accurate flavor representation and prevents clogging.
- Measuring and Loading Beans: Demonstrate proper bean portioning using a scale for precision. Overfilling can cause jams, while underfilling leads to inefficient grinding. Guide students on how to pour beans smoothly into the hopper without spilling. For manual grinders, show how to load the chamber in stages to avoid overloading.
- Operating the Grinder: If using a manual model, demonstrate a steady, rhythmic grinding motion to maintain consistency. For electric grinders, explain how to activate and deactivate the machine safely, including emergency stops if applicable. Highlight the importance of timing—grinding too long can overheat beans, altering their flavor, while grinding too briefly leaves chunks.
- Collecting and Assessing Grounds: Show how to transfer grounds from the chute or container to a brewing device without spillage. Use a spoon or funnel for precision. Invite students to inspect the grounds for uniformity and smell the aroma to connect visual and olfactory cues to grind quality.
Common Mistakes and Troubleshooting
Addressing errors proactively helps students avoid frustration and develop problem-solving skills.
- Inconsistent Grind Sizes: Explain how uneven pressure on manual grinders or worn burrs in electric models can cause irregular particles. Demonstrate how to check for dull burrs by listening for unusual noises or feeling for resistance during grinding. Teach students to recalibrate settings or replace parts as needed.
- Grinder Clogging: Show how static electricity, humidity, or overly oily beans can clog the chute or burrs. Teach students to tap the grinder gently to dislodge stuck grounds or use a brush to clear blockages. Emphasize the role of bean freshness—stale beans are drier and less likely to clump.
- Overheating the Grinder: Prolonged grinding can generate heat, which may “cook” beans and impart a burnt taste. Explain how to pause between batches to let the machine cool down. For high-volume settings, recommend using multiple grinders or alternating between them to prevent overheating.
Safety and Maintenance Practices
Prioritizing safety and upkeep ensures a functional, hazard-free learning environment.
- Handling Sharp Components: Warn students about the risks of touching burrs or blades, especially when cleaning. Demonstrate how to use tools like brushes or vacuums to remove grounds without direct contact. For electric grinders, stress the importance of unplugging the machine before maintenance.
- Cleaning Protocols: Outline a routine cleaning schedule, including daily brushing of burrs and weekly deep cleans with grinder-specific tablets or rice (for burr models only). Explain how neglecting maintenance leads to stale flavors and mechanical failures. Provide students with checklists to track cleaning tasks.
- Storage Guidelines: Teach students to store grinders in dry, cool places away from direct sunlight to prevent moisture damage or warping. For portable models, show how to disassemble removable parts for compact storage. Emphasize keeping the grinder in a protective case if transported frequently.
By focusing on mechanics, step-by-step processes, error correction, and safety, educators can empower students to master coffee grinder operation with confidence. Structured demonstrations that encourage hands-on practice and critical thinking ensure learners leave with practical skills and a deeper appreciation for the role of grinding in coffee quality.