Proper Storage and Maintenance of Coffee Grinders After Use
Daily Cleaning Routine for Immediate Post-Use Care
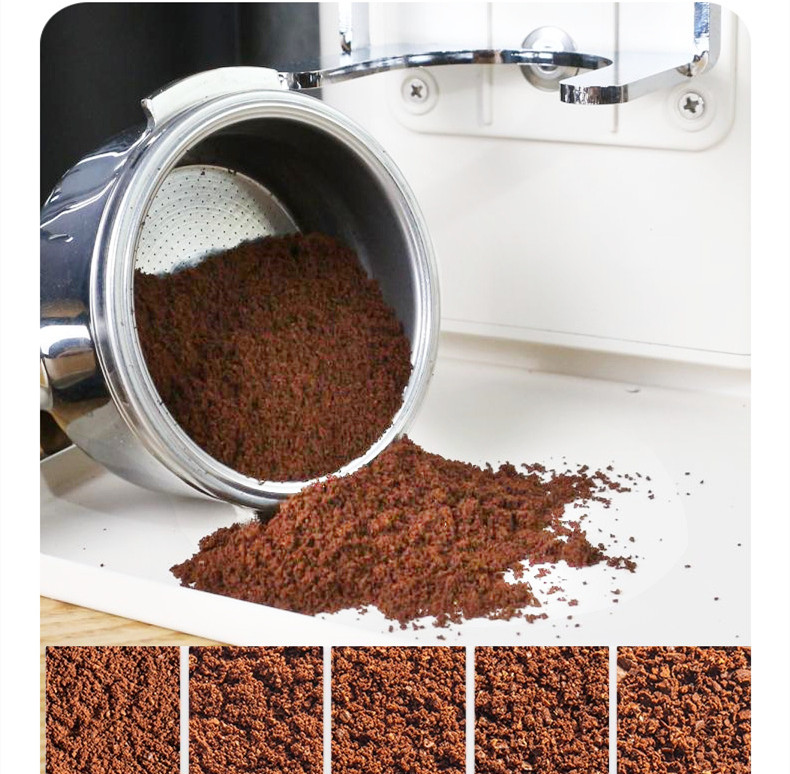
After grinding coffee beans, residual fines and oils accumulate in the grinder’s burrs, chute, and catch bin. These residues oxidize quickly, leading to rancid flavors in subsequent brews. Begin by unplugging the grinder and removing the hopper and catch bin. Use a soft-bristled brush to sweep loose grounds from the burrs and chute. For electric models, activate the grinder briefly without beans to dislodge stuck particles. Wipe exterior surfaces with a dry microfiber cloth to remove oil stains.
For hand grinders, disassemble removable components like the handle and adjustment ring. Use compressed air or a small brush to clean crevices where fines settle. Avoid water unless the manufacturer explicitly permits it, as moisture can damage electrical components or cause metal parts to rust.
Long-Term Storage Strategies to Preserve Freshness
Preventing Moisture and Pest Intrusion
Store the grinder in a dedicated cabinet or drawer away from heat sources like stoves or direct sunlight. For electric models, ensure the power cord is coiled neatly and secured with a twist tie to prevent tripping hazards. Place a silica gel packet inside the hopper when not in use to absorb ambient humidity, which can cause clumping in residual grounds.
If storing for extended periods, wrap the grinder’s base in a breathable cotton cloth to deter dust while allowing airflow. Avoid plastic bags, as they trap moisture and promote mold growth. For hand grinders, stand them upright to prevent internal springs or bearings from shifting under their own weight.
Managing Residual Coffee in the Burrs
Never leave unused beans in the hopper overnight, as they release carbon dioxide that accelerates flavor degradation. After cleaning, leave the hopper empty and the burr chamber open for 1–2 hours to air out. For commercial settings where rapid turnover isn’t possible, grind a small batch of inexpensive beans to “flush” the system before shutting down. This creates a barrier layer that minimizes oil buildup on burr surfaces.
Component-Specific Maintenance for Peak Performance
Burr Care and Calibration
Burrs lose sharpness over time, resulting in uneven particle sizes that affect extraction. Monthly, inspect burrs for nicks or dull edges using a magnifying glass. For conical burrs, rotate them manually to check for wobbling, which indicates misalignment. Flat burrs require closer scrutiny, as even minor wear can create “fines tails” that clog filters.
If recalibration is needed, refer to the manufacturer’s guide to adjust the zero-point setting. Use a feeler gauge to measure the gap between burrs, ensuring consistency across the grinding range. Avoid over-tightening, as this can strip threads or warp the burr carrier.
Handling Electrical and Mechanical Parts
For electric grinders, lubricate motor bearings annually with food-grade grease to reduce friction and noise. Check the on/off switch for loose connections, which can cause intermittent operation. Hand grinders benefit from occasional disassembly to clean the central shaft and thread areas. Apply a thin layer of dry lubricant to the adjustment threads to ensure smooth grinding-size changes.
Store the grinder’s manual in a labeled folder near the storage area for quick reference during maintenance. Document any repairs or part replacements in a logbook to track the grinder’s lifecycle and anticipate future needs.
By integrating these practices into your post-use routine, you’ll extend the grinder’s lifespan while maintaining consistent grind quality for richer, more balanced coffee flavors.